官方中文文档:
https://github.com/ehang-io/nps/blob/master/README_zh.md
https://ehang-io.github.io/nps/#/install
参考博客:https://www.de009.top/the-nps-intranet-penetrate-the.html
下载地址:https://github.com/ehang-io/nps/releases
0、原理

1、服务器端配置
1.1 准备工作
一台拥有公网IP的VPS;
1.2 安装nps软件包
1
2
3
4
5
6
| wget https://github.com/cnlh/nps/releases/download/v0.23.1/linux_amd64_server.tar.gz
mkdir /usr/local/nps
mv linux_amd64_server.tar.gz /usr/local/nps/
cd /usr/local/nps/
tar -zxvf linux_amd64_server.tar.gz
|
1.3 配置文件
1
2
3
4
5
6
7
8
9
10
11
12
13
14
15
16
17
18
19
| [root@test-1-211 nps]# vim /etc/nps/conf/nps.conf
# 代理,可以注释,防止和其他80默认端口冲突
#HTTP(S) proxy port, no startup if empty
#http_proxy_ip=0.0.0.0
#http_proxy_port=80
#https_proxy_port=443
#https_just_proxy=true
#default https certificate setting
#https_default_cert_file=conf/server.pem
#https_default_key_file=conf/server.key
..............
# web
web_host=a.o.com
web_username=admin # web可视化界面用户名
web_password=123 # web可视化界面密码,复杂一些,防止弱命令爆破
web_port = 8080
web_ip=0.0.0.0
|
1.4 启动
1
2
3
4
5
6
7
| cd nps/
./nps install
./nps start
./nps stop # 停止
./npm -version # 查看版本
|
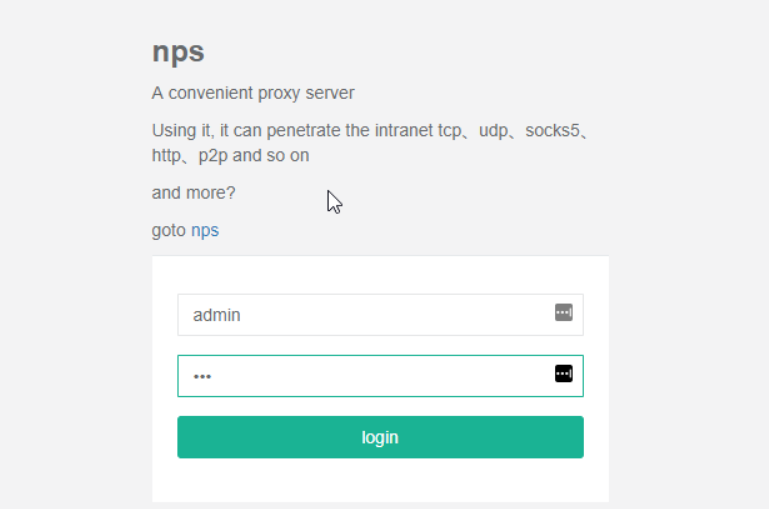
在安装完成,启动nps后,便可访问server_IP:8080来访问nps配置dashboard了
要求登陆,默认的用户名:admin,密码:123
1.5 新建客户端
这里我们创建一个新的客户端,
这里的客户端只是在server配置的客户端,之后使用客户端软件链接,所以要与客户端配置一致
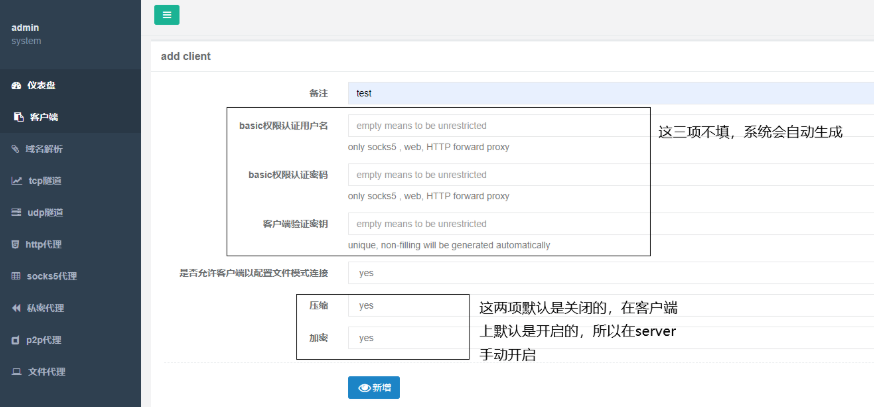
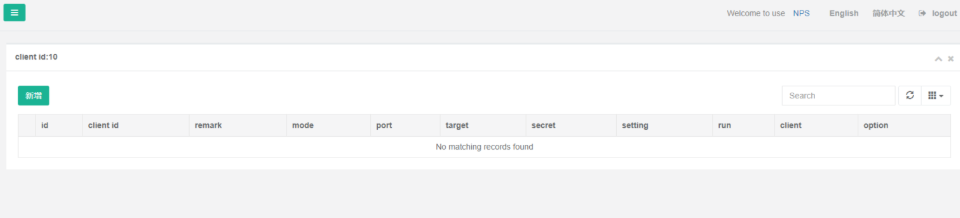
创建好的客户端是这样的,status为offline,因为客户端还没链接
这里server会自动随机生成一个vkey=7oswclqe5knqu15x(之后配置客户端会使用)

2、客户端配置
Windows下载客户端
https://github.com/cnlh/nps/releases/download/v0.23.1/win_amd64_client.tar.gz
这里使用windows作为客户端
下载解压后配置vps.conf,将其他配置删除,只保留如图所示的配置修改
1
2
3
4
5
6
7
8
9
10
11
12
13
14
15
| # server_addr为VPS的公网ip和dashboard的默认客户端链接端口
# vkey为server网页上新建的客户端生成的vkey server_addr=server_IP:8024
server_addr=192.168.1.2:8024 # 修改这个
conn_type=tcp
vkey=7oswclqe5knqu15x # 修改这个
auto_reconnection=true
max_conn=1000
flow_limit=1000
rate_limit=1000
basic_username=11
basic_password=3
web_username=user
web_password=123
crypt=true
compress=true
|
修改完配置文件后运行nsp.exe,显示成功链接
注:如果连接不上,查看端口是否未开放

3、Centos客户端下载
1
2
3
4
5
6
7
8
| wget https://github.com/cnlh/nps/releases/download/v0.23.1/linux_amd64_client.tar.gz
tar -zxvf linux_amd64_client.tar.gz
cd npc/
./npc -server=66.42.81.9:8024 -vkey=7oswclqe5knqu15x -type=tcp
# 注:连接不上测一下端口是否开放
[root@test-1-211 nps]# telnet 192.168.1.2 8024
|
链接成功
两者链接成功后server端中客户端status转为online

4、使用测试
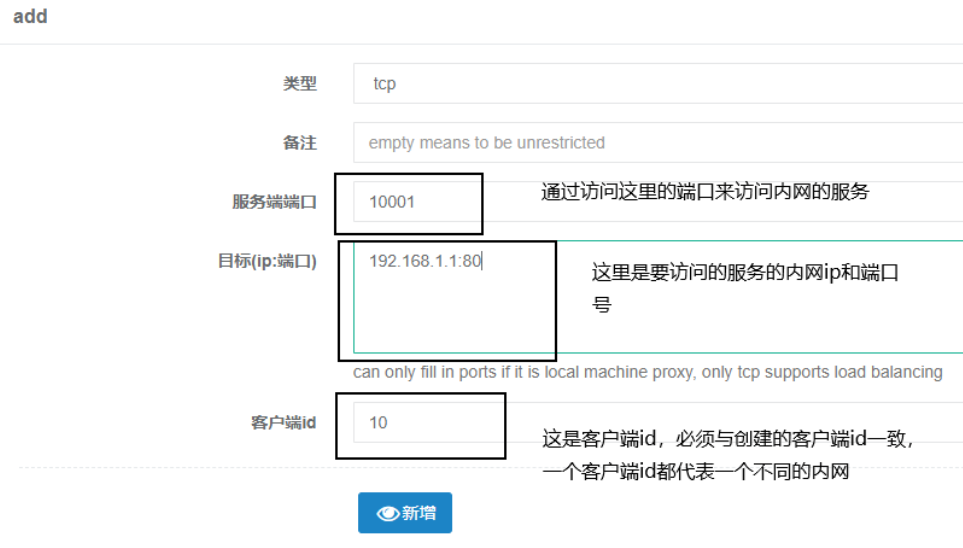
4.1 创建tcp tunnel
这里使用内网router配置网页做测试

点击tunnel创建tcp隧道
点击新增
这里我的router内网ip为192.168.1.1
4.2 创建完成

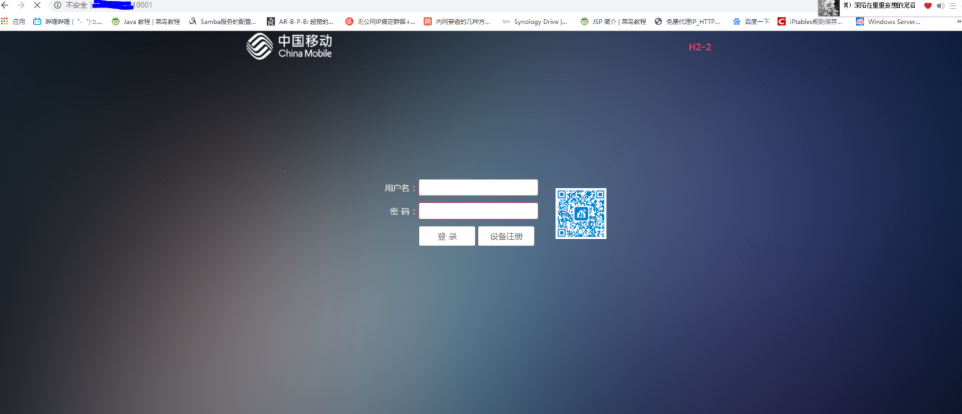
4.3 访问测试
访问server_ip:10001
成功访问到内网router配置网页